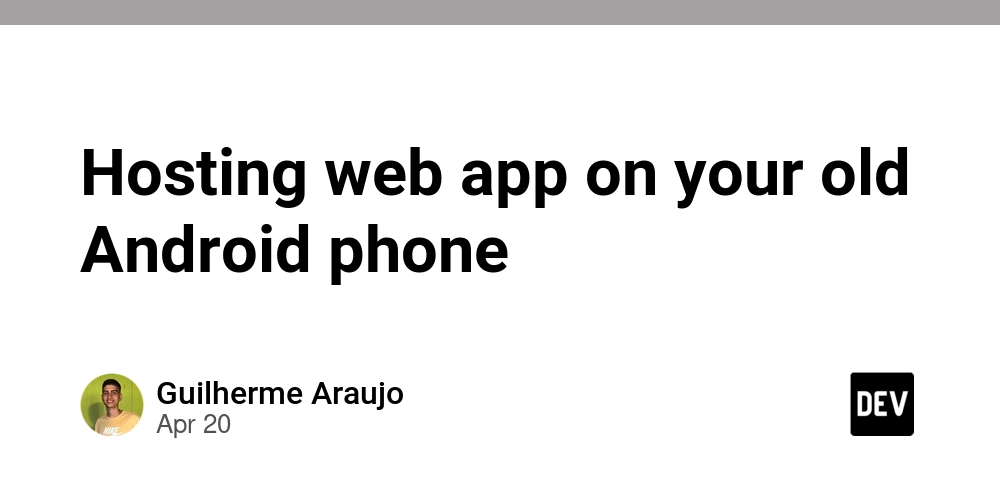
Breathe New Life Into Your Old Android: Host a Web App on Your Phone!
Tired of your dusty old Android phone sitting in a drawer? Learn how you can transform it into a powerful, portable web server! This guide unveils how to host a web app on your old Android phone, saving you money and unlocking exciting possibilities.
Why Host a Web App on Your Android Device?
Think beyond just making calls and scrolling through social media. Using your Android phone as a server offers some sweet advantages:
- Save Money: Skip the expensive Raspberry Pi or VPS hosting fees.
- Experiment Freely: Perfect for testing personal projects and learning new technologies without commitment.
- Portability: Your server goes wherever you go.
- Reduce E-Waste: Give an old device a valuable new purpose.
Let’s dive into turning that dormant device into a lean, mean web-hosting machine using Termux!
Step 1: Installing Termux – Your Gateway to Linux on Android
Termux provides a Linux-like environment within Android. It’s the foundation for installing and running server-side applications.
- Head to the Google Play Store on your Android phone.
- Search for "Termux" and install the app.
Why Termux? It eliminates the need for rooting your device, offering a safe and sandboxed environment to experiment with Linux tools.
Step 2: Opening Termux and Updating Packages
Time to fire up Termux!
-
Open the Termux app.
-
Run the following command to update all Termux packages and ensure you have the newest version:
Keeping your packages up-to-date is crucial for stability and security.
Step 3: Setting Up SSH Access – Remote Control Your Android Server
Typing on a phone screen is no fun. Let's set up SSH to manage your server from your computer:
-
Install the openssh package:
-
Start the SSH server:
-
Find the Termux IP address:
-
Find the Termux username:
-
Set a password for SSH access:
Now, SSH into your phone from your computer with:
Welcome to hands-free server management! Consider installing tmux after connecting via SSH to manage multiple terminal sessions. Learn how to configure SSH access for Termux.
Step 4: Setting Up a Cloudflare Tunnel – Expose Your App to the World
Want to share your application with others? A Cloudflare Tunnel creates a secure connection between your phone and the internet.
-
Install cloudflared:
-
Run this command to create a tunnel for your application:
(Replace 3000 with the port your application uses). This will provide a public URL to access your web app remotely.
Step 5: Installing Node.js – Powering Your Web App
Node.js enables you to run JavaScript on the server.
-
Install Node.js:
-
Start your Node.js application:
Now you can run your web application using Node.js commands. Refer to your node app instruction to run.
Congratulations! Your Node.js application hosted at home on an old android device is now running and accessible via the Cloudflare Tunnel URL.
Run Web Apps on Android: Beyond the Basics
With your Android phone configured as a server, the possibilities are endless! Host simple websites, APIs, or even run bots. Consider these ideas:
- Personal API: Create an API to manage tasks, notes, or personal data.
- Home Automation Hub: Control smart home devices from your phone.
- Development Server: Quickly test web apps on a real device.
This guide showed you how to host a web app on your old Android phone with Termux, transforming it into a pocket-sized powerhouse. With a bit of ingenuity, an old Android device becomes a valuable tool for experimentation, development, and even small-scale deployments. Try hosting a Node.js application on an Android device today!


![Is [X Service] Down? Reduce Support Tickets with an IT Status Page](https://media2.dev.to/dynamic/image/width=1000,height=500,fit=cover,gravity=auto,format=auto/https%3A%2F%2Fdev-to-uploads.s3.amazonaws.com%2Fuploads%2Farticles%2F4711peq7blgvbjijnfb0.jpg)