Create Your Own ChatGPT Chatbot: A Step-by-Step Guide
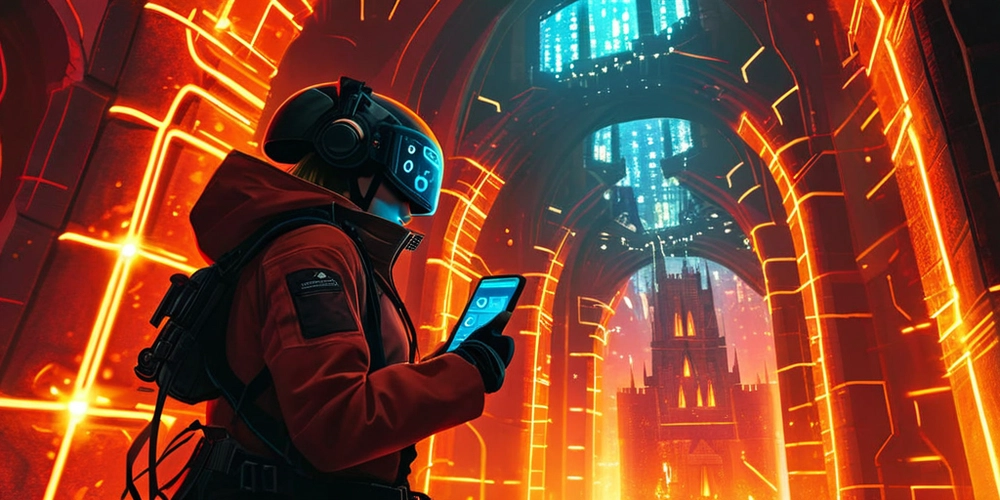
Ever wondered how ChatGPT works and wished you could build your own? Now you can! This article breaks down the process of creating your own AI chatbot using open-source tools and models. Get ready to create a personalized AI assistant tailored to your specific needs and learn to customize its personality. This tutorial empowers you to understand the underlying technology and have a lot of fun along the way!
Why Venture into Building Your Own ChatGPT?
- Learn Intuitively: Hands-on experience beats theoretical knowledge. You'll gain a deep understanding of how these models function by building one yourself.
- Total Customization: Train your chatbot on specific datasets and tailor it to your unique preferences. Make it specialized in movie trivia, philosophical debates, or anything else that sparks your interest.
- Unmatched Bragging Rights: How cool would it be to casually tell your colleagues that built your own personal ChatGPT chatbot?
- Stay Ahead: This experience positions you at the forefront of AI innovation.
Gathering Your Ingredients: Essential Tools and Knowledge
Before diving into code, ensure you have these essentials:
- Python 3.7+: The foundation for our AI project.
- GPU is Ideal, CPU is Okay: A decent GPU speeds up training. A CPU will work, just slower.
- Basic Machine Learning Understanding: Familiarity with ML concepts helps, but a willingness to learn is key.
- Open-Source Language Model: We'll start with GPT-2, an accessible and powerful model.
- Creativity and Perseverance: AI development can be challenging, but the results are worth it.
Step 1: Setting Up Your Development Environment
Let's create a dedicated space for our project and activate the virtual environment.
-
Create a new directory for your project:
-
Create a virtual environment to isolate project dependencies:
-
Install the necessary libraries, including
transformersandtorch:
Step 2: Choosing Your Language Model
We'll use GPT-2, a powerful and accessible language model.
- Import the required classes from the
transformerslibrary:
- Consider experimenting with other pre-trained models like BERT for question answering or T5 for text summarization.
Step 3: Creating the Chat Interaction
Now, let's create a function to generate responses the crux of your own ChatGPT chatbot.
- Define a function to handle user input and generate AI responses:
- Try longer prompts or adjust
max_lengthto influence the chatbot's verbosity.
Step 4: Fine-Tuning Your AI (Optional but Highly Recommended!)
Without fine-tuning, your AI is just repeating patterns. Fine-tuning trains it on a specific dataset to provide better, more contextual responses.
- Load your training data and prepare it for the model:
- Experiment with different datasets to shape your chatbot's personality and expertise. Fine-tune your GPT-2 model to specialize in a particular domain.
Step 5: Deployment
Make your chatbot accessible by integrating it into a web application using Flask.
- Create a Flask application to handle user input and respond with AI-generated text:
- Consider deploying your application to a cloud platform like Heroku or AWS for broader accessibility.
Congratulations! What You've Accomplished
You've built your own foundational ChatGPT chatbot. You can now:
- Set up an environment suitable for AI.
- Load a pre-trained language model like GPT-2.
- Create a basic conversational function.
- Fine-tune your model to master any topic.
- Deploy the model locally.
Deepening Your AI Journey: Next Steps
This is just the start! Expand your project by:
- Exploring other models like BERT, T5, or transformer models.
- Experiment with various fine-tuning techniques for increased accuracy and relevance.
- Adding memory or context awareness to your chatbot.
Creating your own AI model requires experimentation and persistence, but the reward of building something intelligent is immeasurable.


